Getting Started
This guide walks through the first MkLume workflow: install the app, open or create a project, write a page, preview it, check the project, and build the site.
1. Install MkLume
For Windows, download the installer from the Download page and run it.
After installation, open MkLume from the Start Menu.
No manual Python setup for normal users
The Windows installer includes an app-managed MkDocs runtime for build, export, and local serve actions. You do not need to install Python or MkDocs manually just to use MkLume.
2. Create or open a project
You can start in either direction:
| Option | Use it when |
|---|---|
| Create new project | You want MkLume to create a clean MkDocs project structure for you. |
| Open existing project | You already have a folder with mkdocs.yml and a docs/ folder. |
If you open an existing project, choose the project root folder — the folder that contains mkdocs.yml.
3. Write your first page
MkLume gives you several ways to edit:
- Visual Editor for a friendlier writing experience.
- Markdown Mode for full control over exact Markdown.
- Preview Mode to read the rendered page.
- Split View to write and preview side by side.

4. Add images and links
Drag an image into the editor to copy it into the project and insert a Markdown reference.
Use internal link tools to connect pages without memorizing every file path.
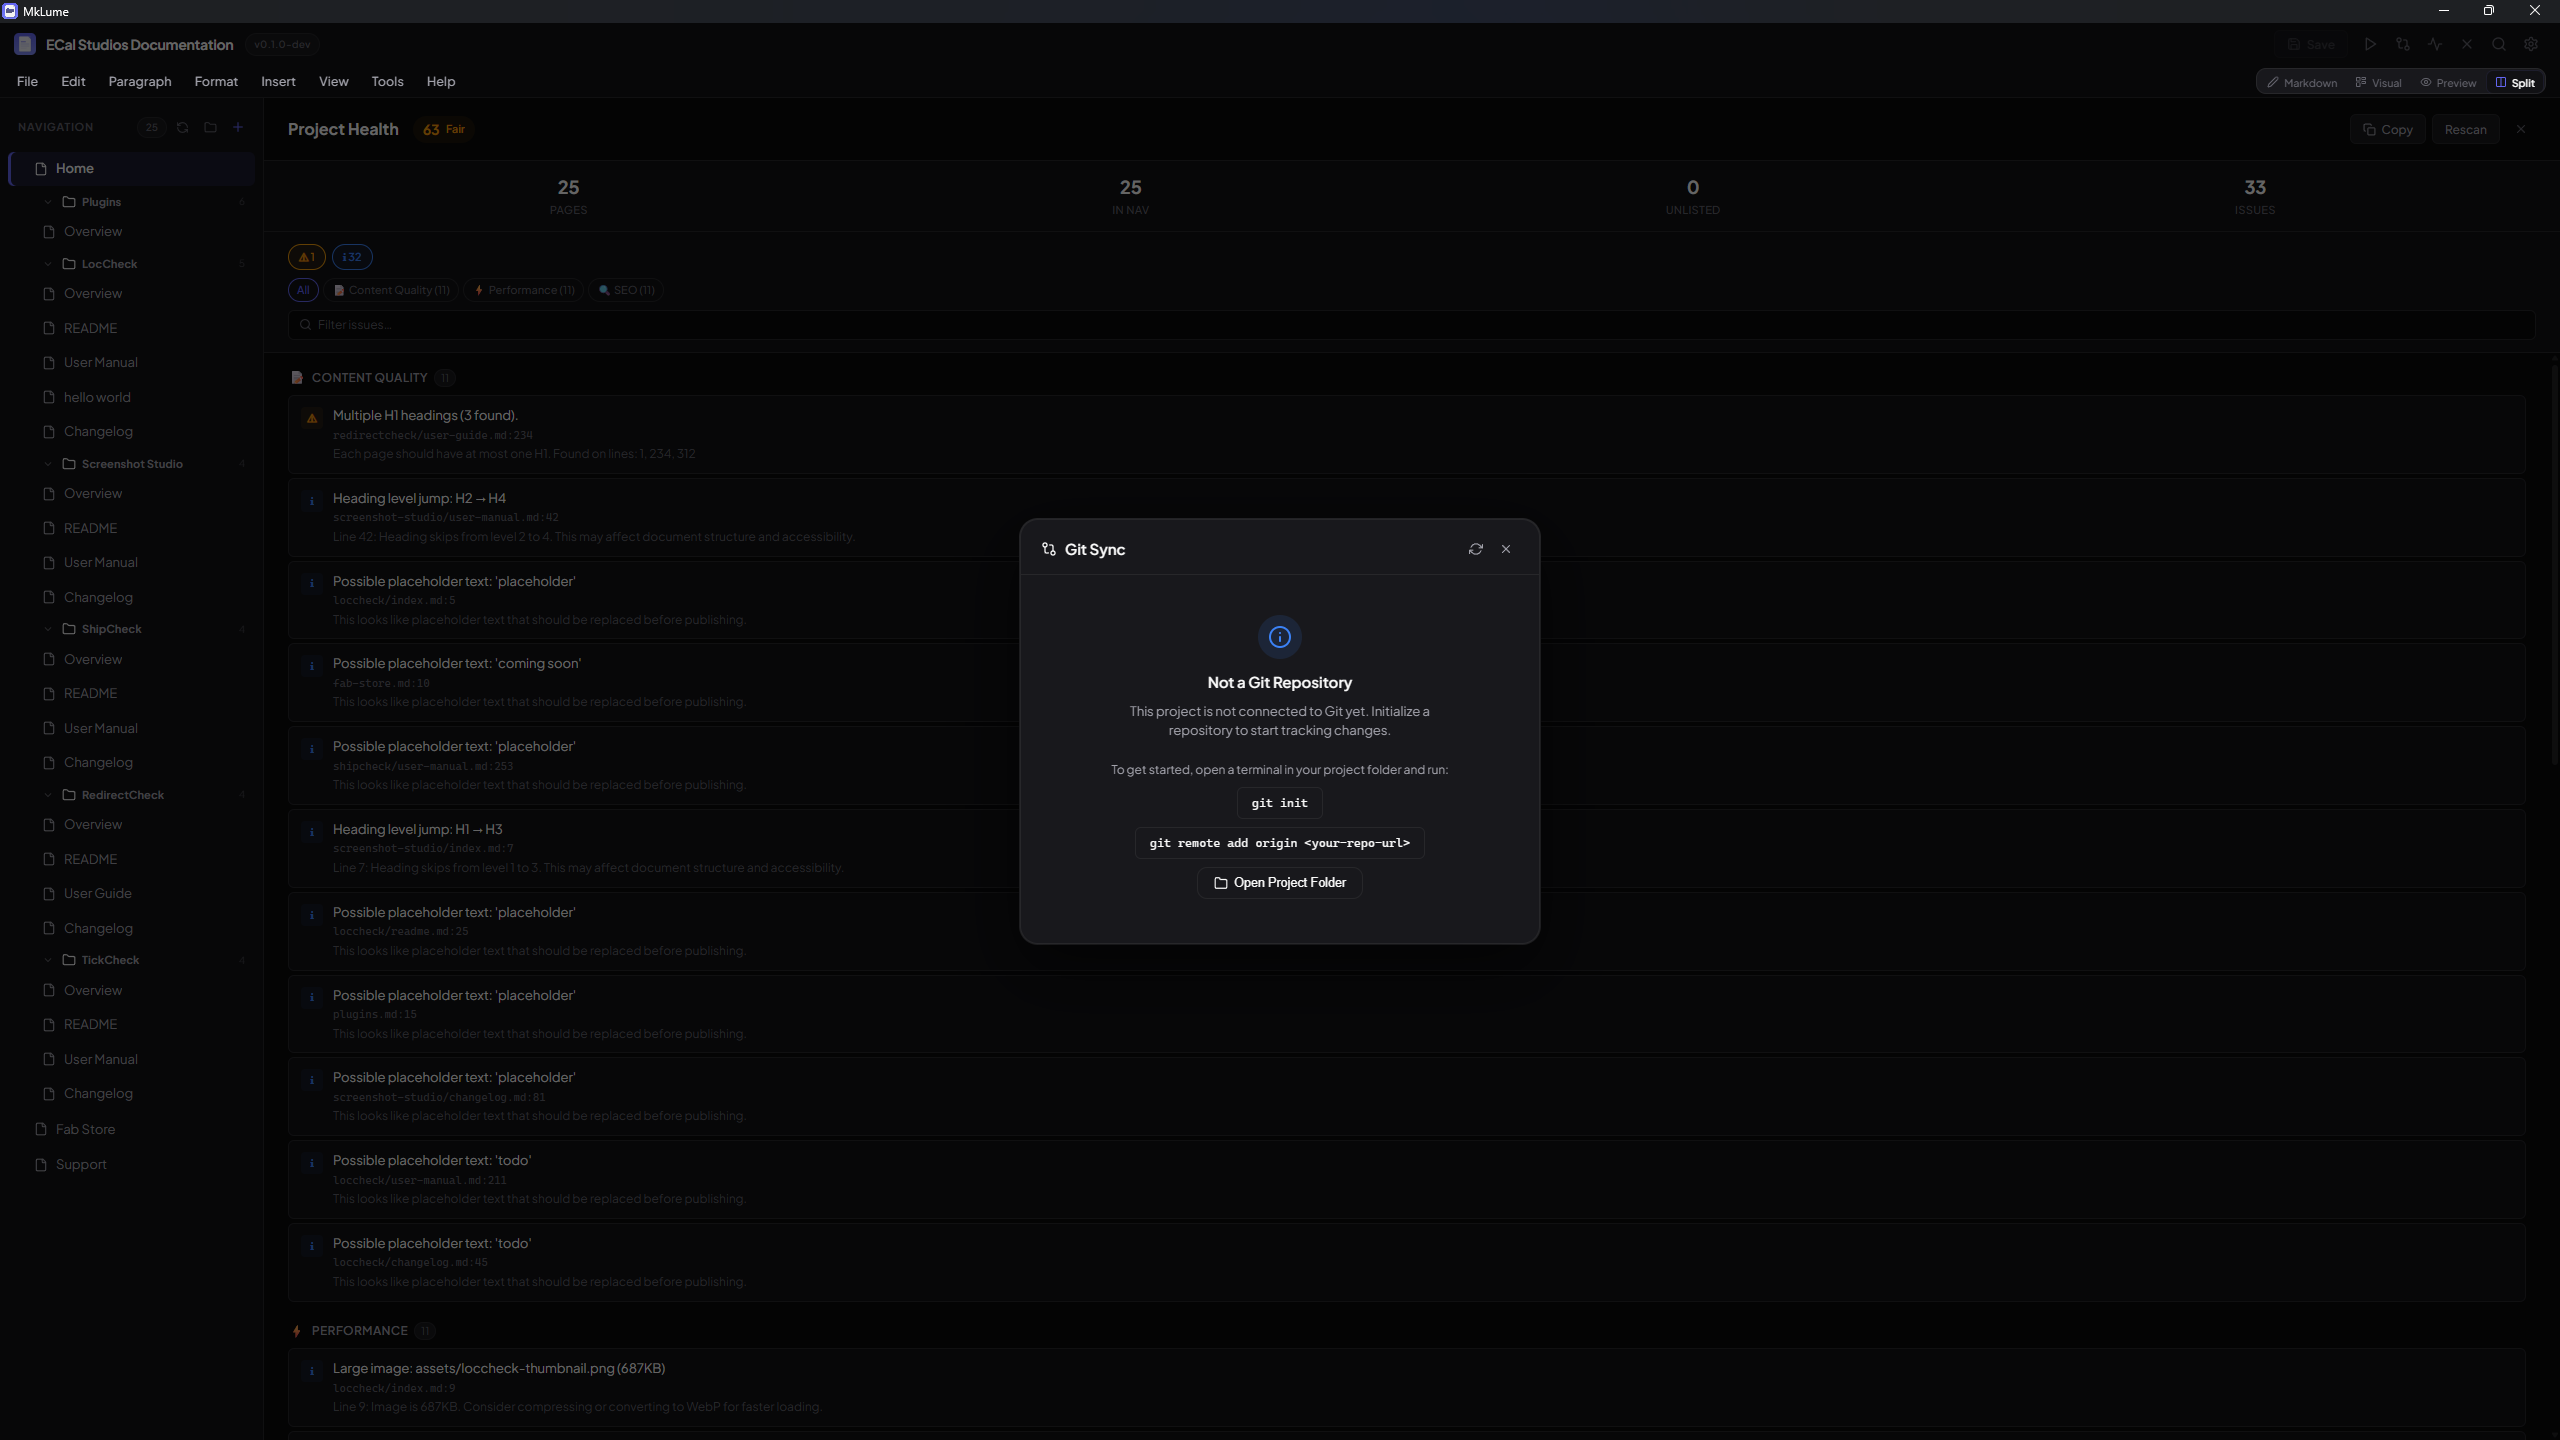
5. Check Project Health
Before publishing, open Project Health to scan for common issues such as:
- Missing images.
- Broken links.
- Navigation entries that point to missing files.
- Basic SEO metadata issues.
- Missing or unusual MkDocs settings.
6. Build or export
Use the Build panel to generate the finished static site.
Common outputs:
site/folder for local testing or hosting upload.- ZIP export for manual upload or sharing.
- Both outputs together.
7. Publish
Upload the built output to your host. MkLume does not need your hosting passwords or tokens.
For GitHub Pages, use the GitHub Pages Deploy Assistant to generate the workflow file, then push it to your repository and enable GitHub Pages in GitHub.