Build and Publish
MkLume helps you prepare your documentation for publishing, but the final hosting choice is still yours. That is intentional. Your docs should not depend on a private token hidden inside the app.
Build requirements
For the normal Windows installer, MkLume includes an app-managed MkDocs runtime for build, export, and local serve actions. You do not need to install Python, MkDocs, or Material for MkDocs manually just to use the app.
Manual command-line builds are still useful for developers, advanced troubleshooting, CI, or hosting providers that build from a Git repository. In those cases, install the project requirements from the folder that contains mkdocs.yml:
pip install -r requirements.txt
If the project has no requirements.txt, install the basic MkDocs tools manually:
pip install mkdocs mkdocs-material
Then test the project:
mkdocs serve
Build the final site:
mkdocs build
The output is normally created in a folder called site/.
Build and export inside MkLume
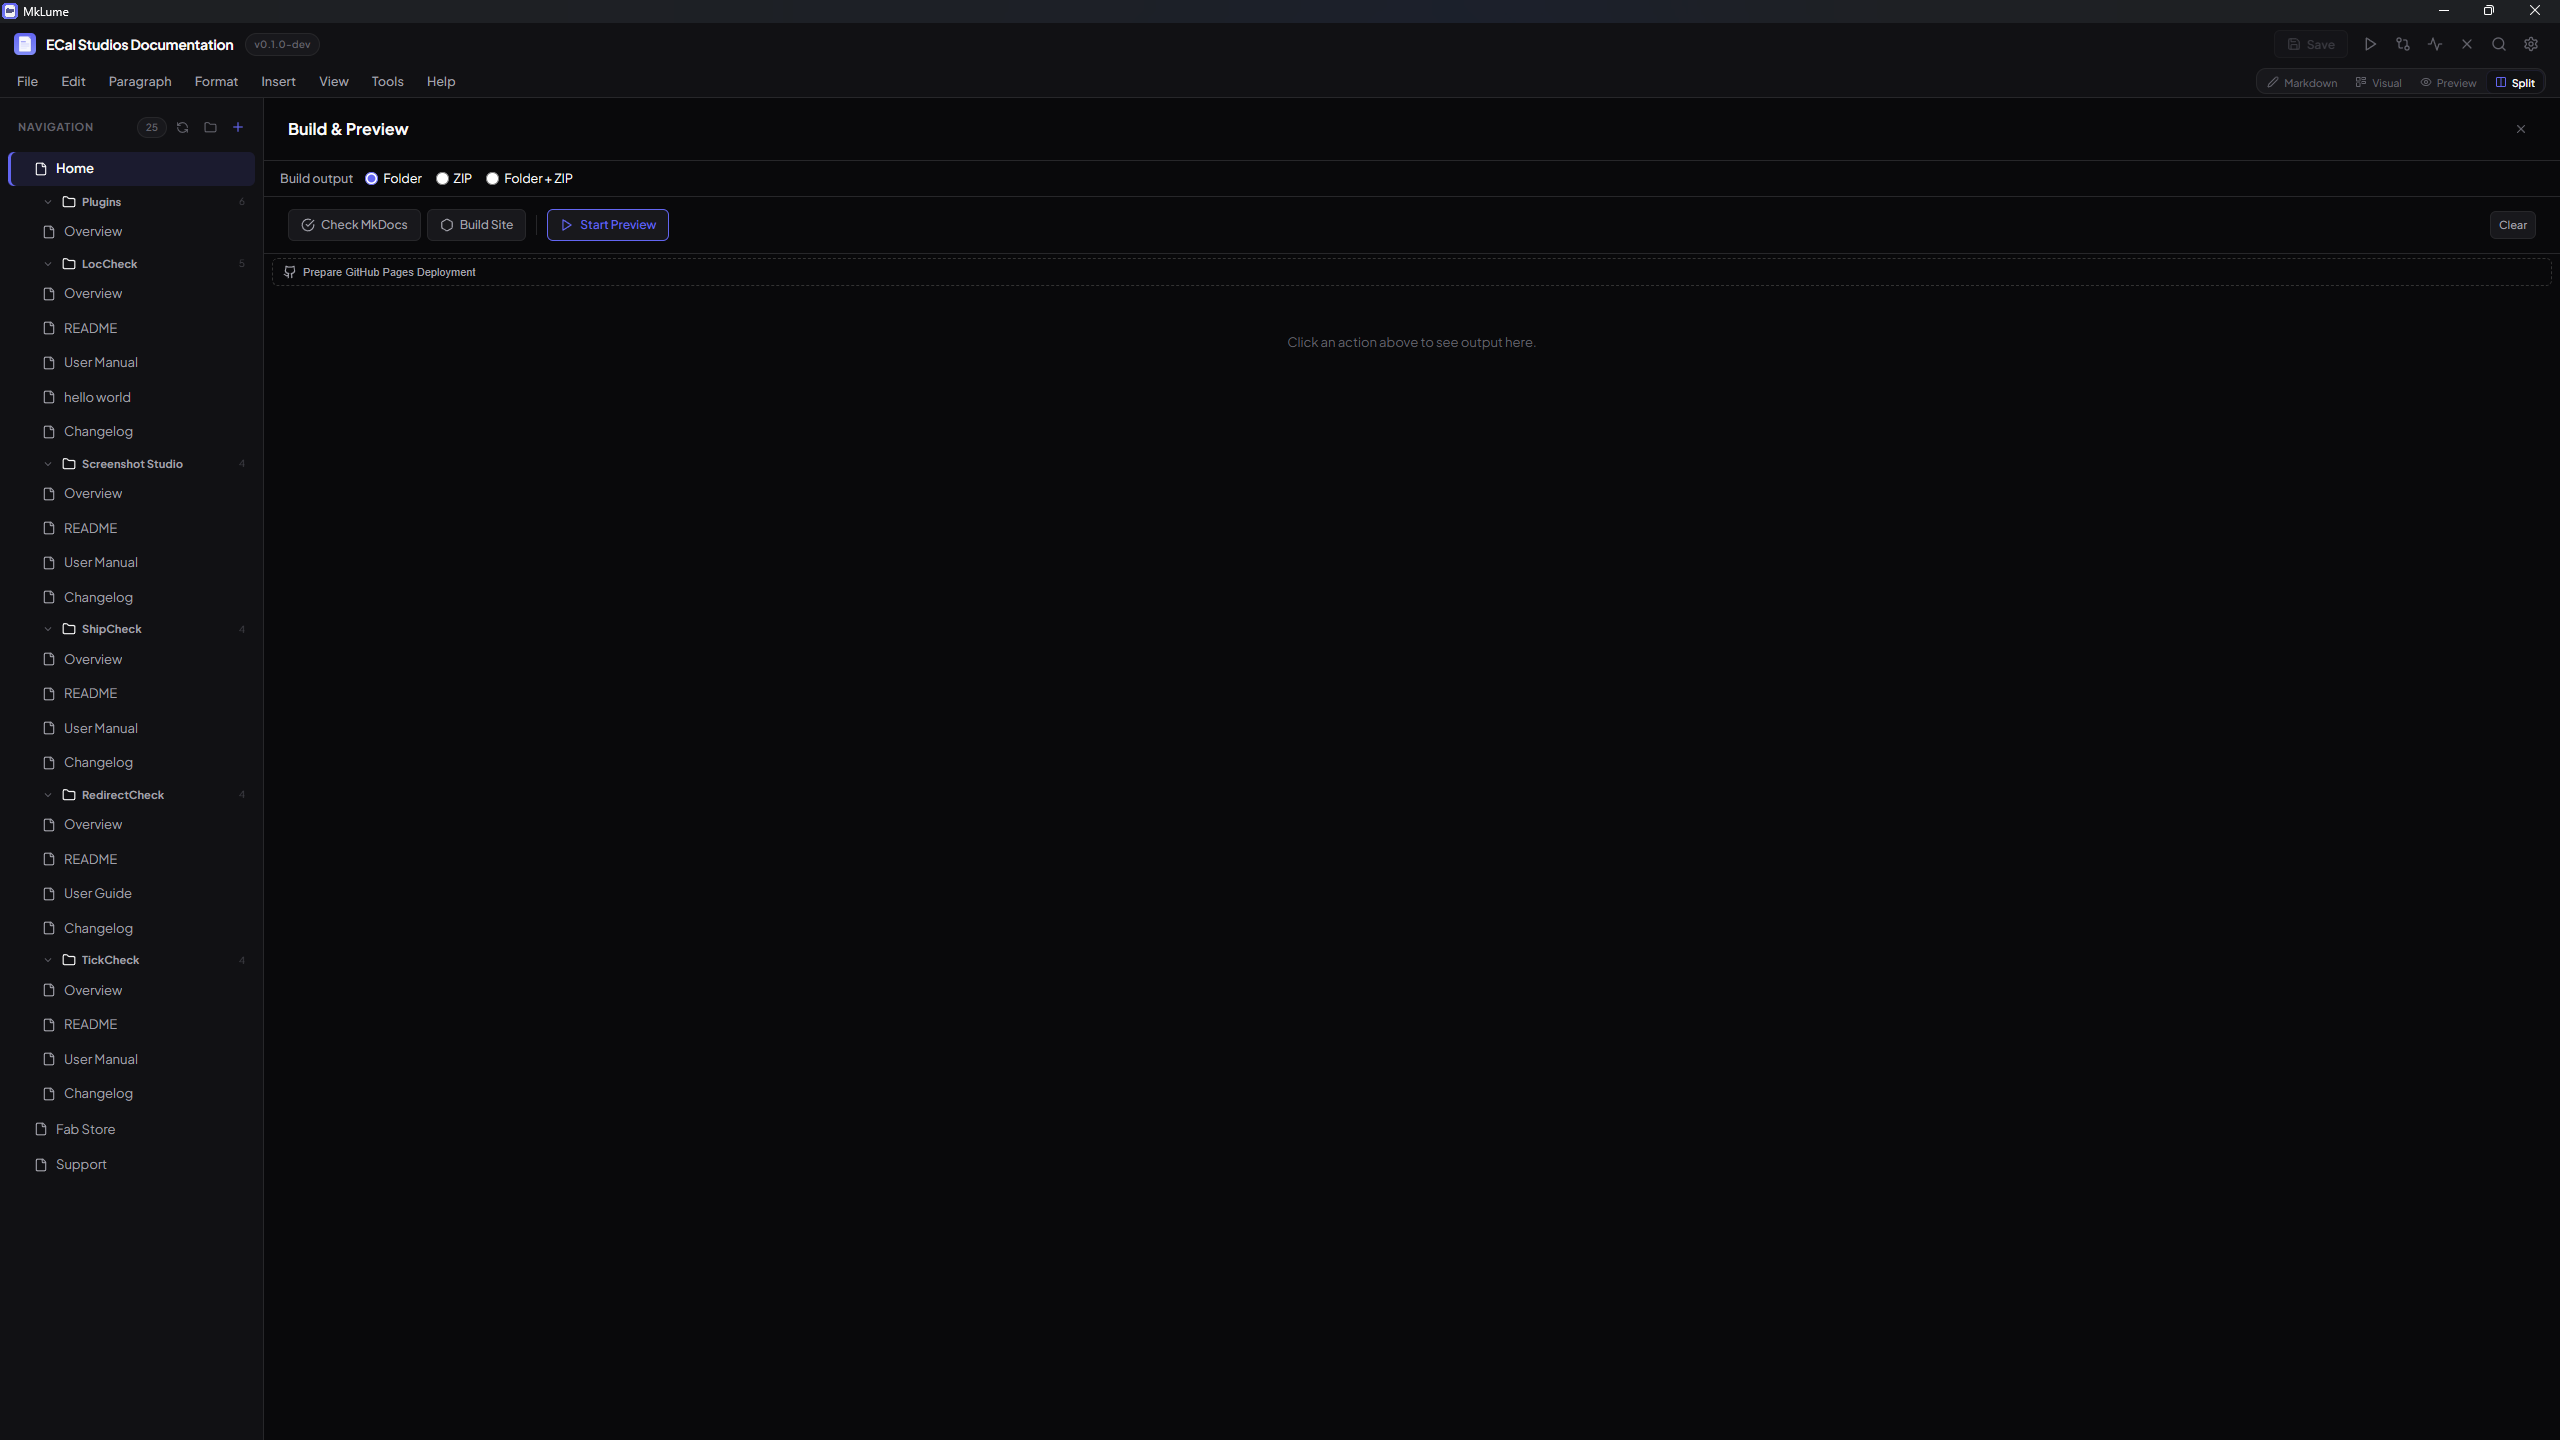
A good build workflow is:
- Save all open pages.
- Run Project Health.
- Fix broken links or missing images.
- Run a local preview.
- Build the site.
- Export the output as a folder, zip, or both.
Folder or zip?
Use a folder when your hosting provider expects direct upload. Use a zip when you want to archive the build, send it to someone, or upload it through a dashboard that accepts zip files.
Local preview
Use local preview when you want to check the complete site before uploading.
mkdocs serve
Then open the local address shown in the terminal. It is usually:
http://127.0.0.1:8000/
Cloudflare Pages workflow
Cloudflare Pages is a good fit for MkDocs because MkDocs builds a static website.
Option A: Upload the built site manually
-
Build the project:
mkdocs build -
Open the generated
site/folder. - Upload the contents to Cloudflare Pages using your existing upload workflow.
- Check the live page.
Option B: Connect a Git repository
- Push the documentation project to GitHub.
- Create or open the Cloudflare Pages project.
- Connect the repository.
-
Use this build command:
pip install -r requirements.txt && mkdocs buildIf the project has no
requirements.txt, use:pip install mkdocs mkdocs-material && mkdocs build -
Set the output directory to:
site
Confirm your current workflow
This site already appears to be built with MkDocs Material and deployed to Cloudflare. If your Cloudflare project uses a custom build command, keep that command and only adjust it when needed.
GitHub Pages deploy assistant
MkLume can help create a GitHub Actions workflow file for GitHub Pages.
The idea is simple:
- MkLume creates the workflow file.
- You review it.
- You commit and push it.
- GitHub builds and publishes the docs.
A common workflow file lives here:
.github/workflows/docs.yml
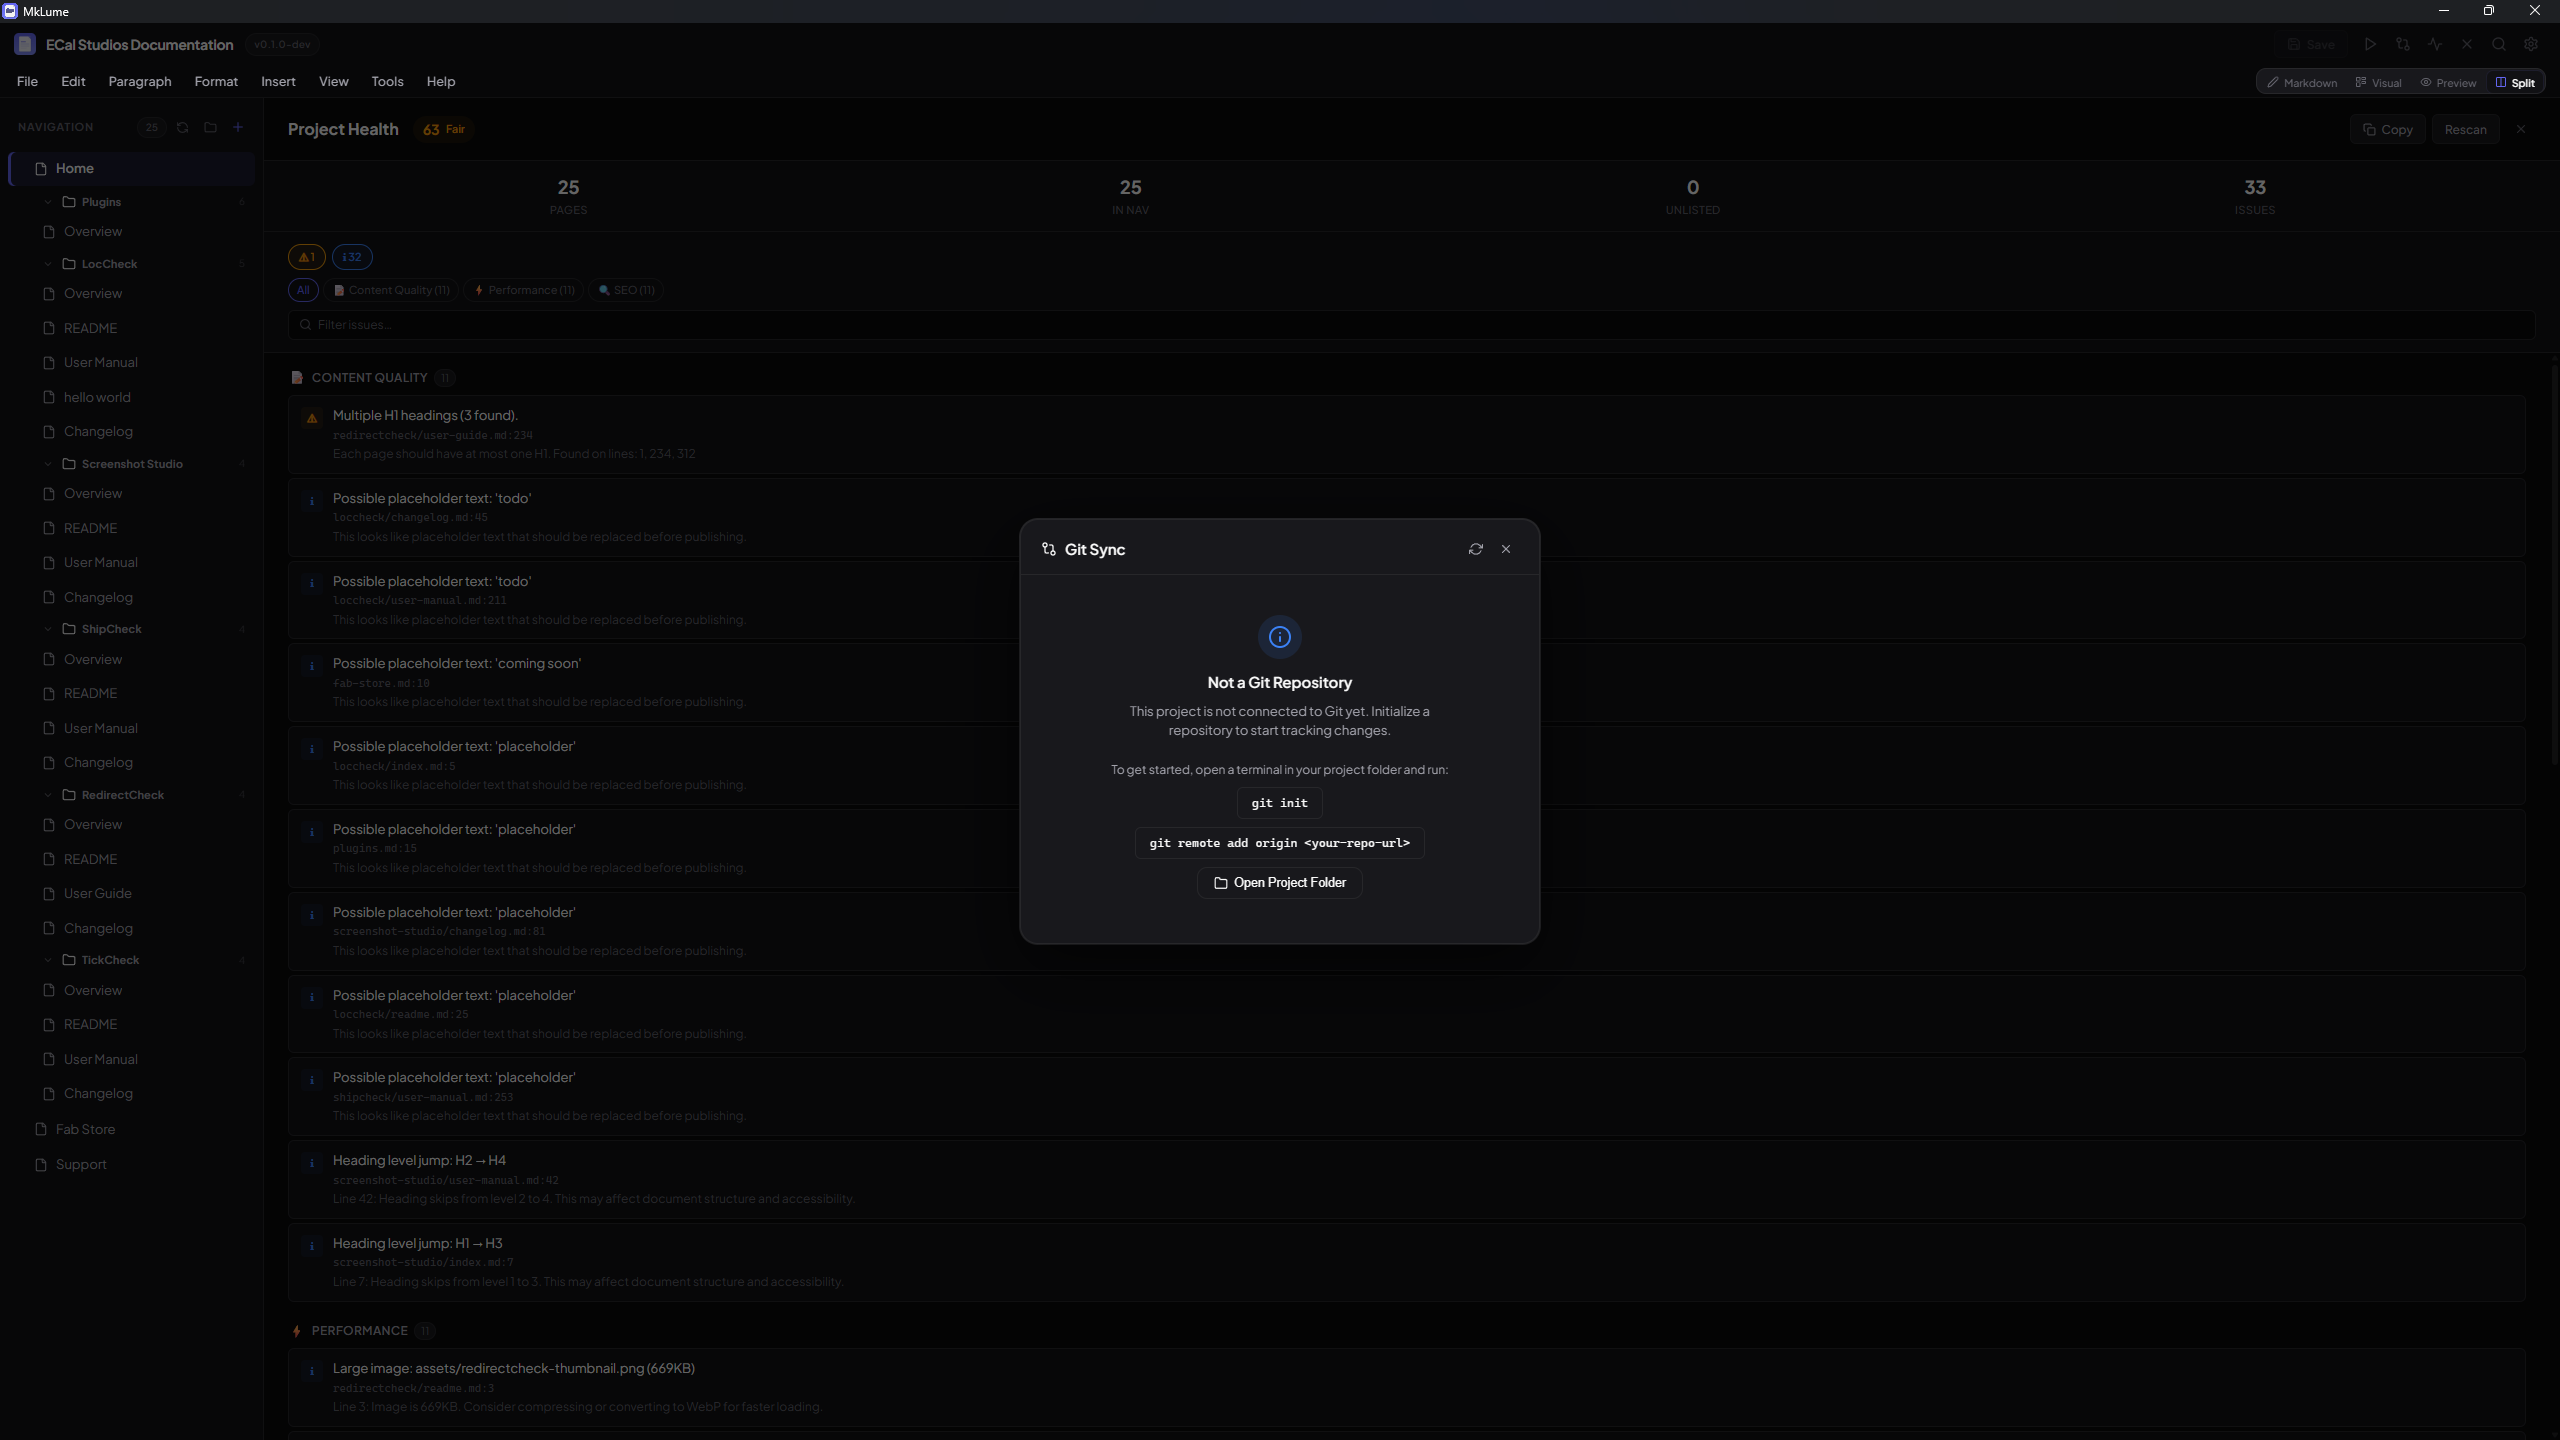
Git Sync
Git Sync is meant for normal documentation changes:
- Review changed files.
- Write a short commit message.
- Commit.
- Pull if needed.
- Push.
Git is powerful
Git Sync should make common actions easier, but it does not remove the need to understand what you are committing. Review your changes before pushing public documentation.
Recommended release checklist
Before publishing a documentation update:
- [ ] Run Project Health.
- [ ] Preview important pages.
- [ ] Check mobile navigation.
- [ ] Build the site without errors.
- [ ] Confirm images load from the final site.
- [ ] Check external links.
- [ ] Keep a copy or commit of the working version.
After deployment
Open the live site and check:
- The homepage loads.
- Navigation opens correctly.
- MkLume pages appear in the correct section.
- Screenshots load.
- Search finds important pages.
- No private local file paths are visible.